
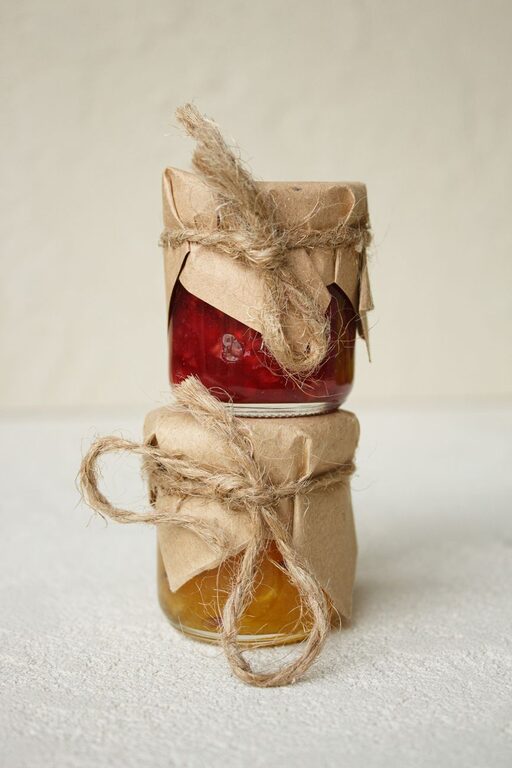
Creative Small Batch Jams for Preserving Summer Fruit
Summer fruit is at its best when it is ripe, fragrant, and bursting with flavor. Small batch jams offer an easy way to enjoy that freshness long after the season ends. Unlike large preserving projects, a small batch uses only a few cups of fruit, making it ideal for a weekend kitchen project or for using up produce that is slightly too soft for the fruit bowl.
You can make classic strawberry jam, experiment with peach and ginger, or combine several fruits into a bright, memorable spread. With the right method, homemade jam can become a breakfast staple, dessert topping, gift, or ingredient in savory dishes.
Why Make Small Batch Jam?
Small batch jam has several advantages:
– It uses seasonal fruit at its peak.
– It requires less equipment and preparation.
– Smaller quantities are easier to customize.
– You can try new flavors without committing to several jars.
– It helps reduce food waste.
– The finished jam is ideal for quick gifts.
A small batch also gives you more control over texture. You can leave some fruit chunky, blend it smooth, or cook it just until the fruit softens into a loose spoonable sauce.
Choose the Best Fruit
The best jam starts with flavorful fruit. Choose produce that is ripe and fragrant, but avoid fruit with mold, deep bruises, or a fermented smell. Slightly soft fruit is often perfect for jam, especially when mixed with firmer pieces for texture.
Good choices include:
– Strawberries
– Raspberries
– Blueberries
– Blackberries
– Peaches
– Plums
– Apricots
– Cherries
– Nectarines
– Figs
Wash the fruit under cool running water, then remove stems, pits, cores, or tough skins as needed. Cut larger fruit into even pieces so it cooks at a similar rate.
For a balanced batch, combine fruit with different qualities. For example, peaches provide sweetness and body, while raspberries add brightness and natural tartness.
A Simple Small Batch Formula
A flexible formula makes it easy to work with what you have. For every 2 cups of prepared fruit, start with:
– 1/2 to 3/4 cup sugar
– 1 to 2 tablespoons lemon juice
– Optional flavor additions, such as herbs or spices
The exact amount of sugar depends on the fruit and your taste. Tart berries may need more sugar than very ripe peaches. Sugar also helps create the familiar jam texture, so reducing it too much can result in a softer spread.
Place the fruit, sugar, and lemon juice in a wide, heavy-bottomed saucepan. Let the mixture stand for 10 to 15 minutes so the fruit releases some juice. Bring it to a steady simmer over medium heat, stirring often. Skim away excess foam if desired.
Cook until the fruit thickens and reaches your preferred consistency. This commonly takes 15 to 30 minutes, depending on the fruit’s water content and the size of the pan.
Creative Flavor Combinations
Once you understand the basic method, you can create flavors that go beyond traditional berry jam.
Strawberry and Basil
Add a few fresh basil leaves during the final minutes of cooking. Remove the leaves before filling the jars, or finely chop one or two for a stronger herbal flavor. This pairing works well on toast, shortcake, or vanilla ice cream.
Peach and Ginger
Add a small amount of freshly grated ginger to chopped peaches. The ginger brings warmth and contrast to the fruit’s soft sweetness. A pinch of cinnamon can add a cozy note without overpowering the peaches.
Blueberry and Lemon
Blueberries become especially lively with lemon zest and juice. Add a little finely grated zest while the fruit cooks, then adjust the acidity with lemon juice near the end. This jam is excellent with pancakes, yogurt, or soft cheese.
Plum and Cardamom
Plums have enough natural tartness to create a rich, balanced jam. Add a small pinch of ground cardamom or one lightly crushed pod during cooking. Remove the pod before serving.
Cherry and Vanilla
Combine pitted cherries with a little vanilla extract or the seeds from part of a vanilla bean. This jam makes a simple filling for thumbprint cookies or a topping for cheesecake.
Fig and Rosemary
Figs pair beautifully with a small sprig of rosemary. Use this jam with bread and soft cheese, or serve it alongside roasted vegetables. Remove the rosemary before storing.
Add Texture and Contrast
Texture can make a small batch feel more special. Try combining smooth and chunky elements instead of cooking everything to the same consistency.
For a chunky jam:
- Cut half of the fruit into small pieces.
- Crush or blend the other half.
- Cook both together so the mixture thickens evenly.
You can also add finely diced dried fruit near the end of cooking. Chopped dried apricots, dates, or cranberries provide chewiness and concentrated flavor. Use them sparingly so they do not overwhelm the fresh fruit.
A small amount of toasted coconut, chopped nuts, or seeds can add texture, but these ingredients are best stirred into a portion you plan to eat soon. They may affect storage quality and can soften over time.
Test the Texture Before You Stop Cooking
Jam continues to thicken as it cools, so it may look looser in the pan than it will in the jar. To test it, place a small plate in the freezer before you begin cooking. When the jam appears ready, spoon a little onto the chilled plate and wait about 30 seconds.
Push the edge of the jam with your finger. If it wrinkles slightly and moves slowly, it is likely ready. If it runs quickly, cook it for a few more minutes and test again.
You can also place a spoonful in the refrigerator for a minute or two to get a clearer idea of the final texture.
Storage Options
For the easiest approach, let the jam cool slightly, transfer it to clean containers, and refrigerate it. Leave a little space at the top because the jam may expand when chilled. Refrigerator jam is usually best enjoyed within a few weeks.
Freezing is another convenient option. Use freezer-safe containers, leaving room for expansion. Thaw frozen jam in the refrigerator and stir it before serving. Frozen jam may have a softer texture, but it remains delicious on toast, oatmeal, and desserts.
If you plan to store jam at room temperature, use a tested water-bath canning recipe and follow current food preservation guidance carefully. Use proper canning jars, lids, processing times, and headspace instructions. Avoid guessing when adjusting sugar, fruit, or acidity, since these changes can affect safe storage.
Creative Ways to Use Homemade Jam
Small batch jam is useful for more than toast. Try these ideas:
– Swirl it into plain yogurt.
– Spoon it over pancakes or waffles.
– Spread it between cake layers.
– Mix it into a simple vinaigrette.
– Brush it over baked chicken or vegetables.
– Use it as a filling for cookies.
– Stir it into oatmeal.
– Serve it with a cheese board.
– Layer it into parfaits.
– Add a spoonful to sparkling water for a fruit drink.
Make Every Batch Your Own
Keep notes about the fruit, sugar, flavorings, and cooking time used in each batch. This makes it easier to repeat successful combinations or adjust a recipe next time.
Small batch jam is all about flexibility. Start with fruit you already have, add one complementary flavor, and taste as you go. With a saucepan, a few clean containers, and a little patience, you can turn the best flavors of summer into spreads that brighten meals throughout the year.
